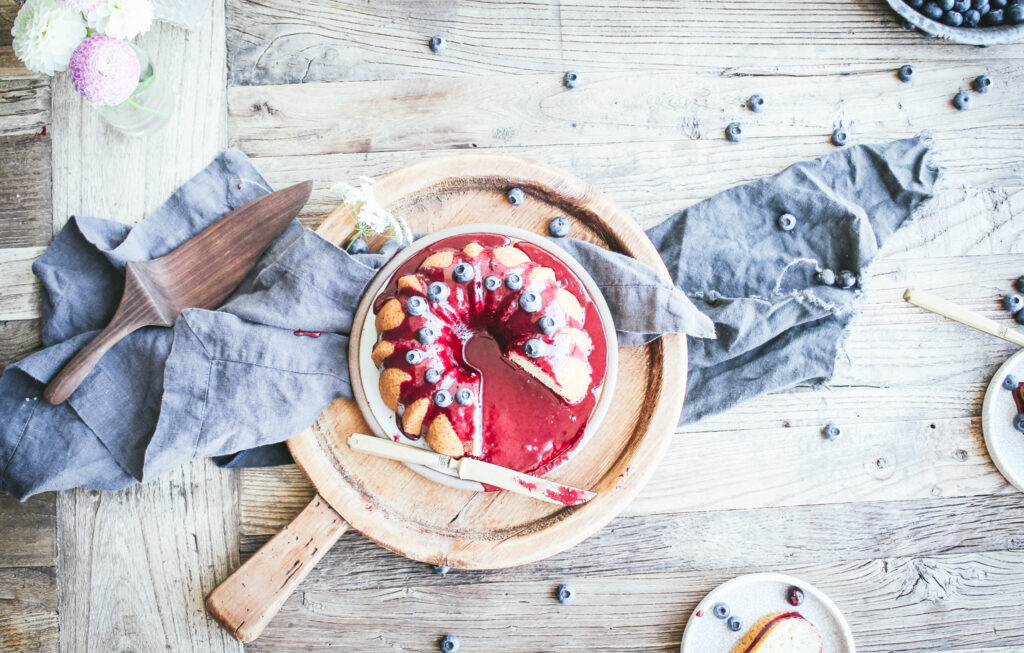
Want to up your food photography game, just getting started, or just want a little help in taking photos for your social media pages? These quick tips will help you do just that!
I recently was blessed to be able to take a food photography/styling class from @evakosmasflores! I talked more about Eva in this post. It was fun to meet Eva in person + it turns out she is even sweeter in person + a great teacher!
If you’re like me you learn much better hands-on + even though I have taken an online class from her there is nothing like learning in-person! She was so great at answering all my questions!
So here are my top 5 tips I’ve learned along the way from Eva and others on my journey in the food photography world so far. I definitely don’t claim to be an expert by any means but believe these tips will up your food photography game…even if food photography isn’t your thing, these tips can help you take a great shot for that weeknight pasta post or sprucing-up your Instagram feed!
Note: These tips are totally my opinion + what I have learned and I know there are many other ways to do things…these are just things that I have found really helpful!! + These are all pics from my class with Eva. She is the master baker + styler…I just took the pic (with some help from the tips below).
1. Edit your photos in Adobe Lightroom!
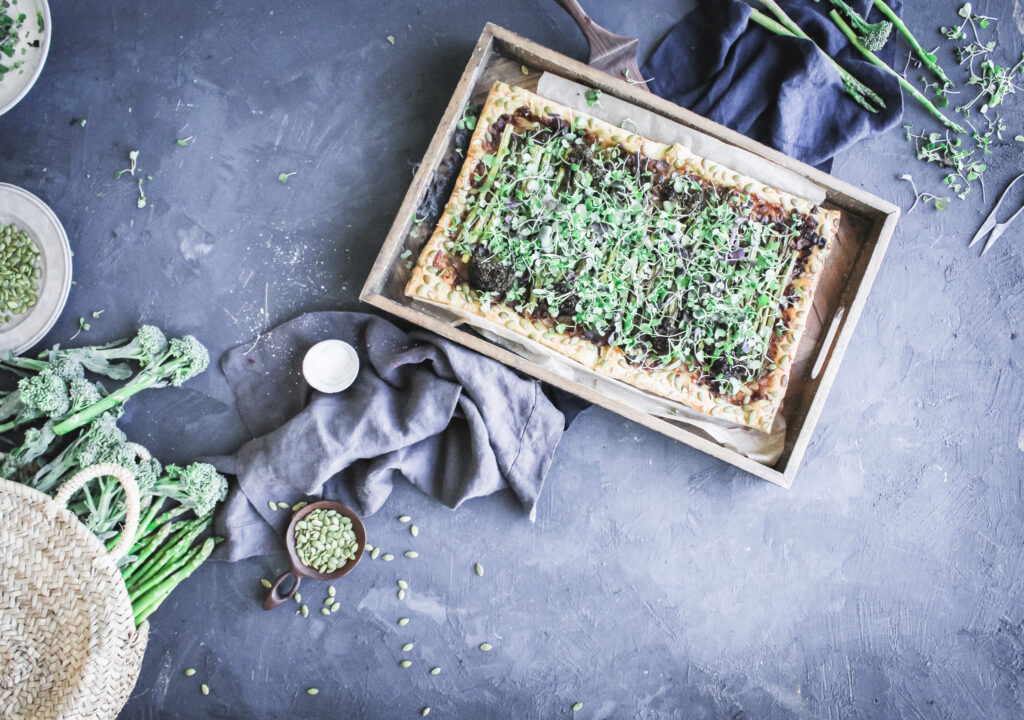
It’s only $9.99 per month and it makes such a difference! I was struggling with over-exposure and learned that if I take my photos in a little bit darker light than I would prefer and then edit them to make them lighter…it is much better than having too much light before editing because you can’t go back!!
There are two versions. Adobe Classic + Adobe CC. Adobe CC is much-more user-friendly; however, if you want more control + more options Adobe Classic is the way to go. Adobe cc is a cloud-based service for moble + desktop. Adobe Classic is just for desktop editing. Even after learning about Adobe Classic it still is a little intimidating and I find myself gravitating towards Adobe CC. There are still a lot of great things you can do with Adobe CC! If you are interested in food photography or have been struggling I highly suggest that you take Eva’s online course.
Even if you’re not a food photographer…it is still fun to play with your photos in lightroom!
2. Presets!!
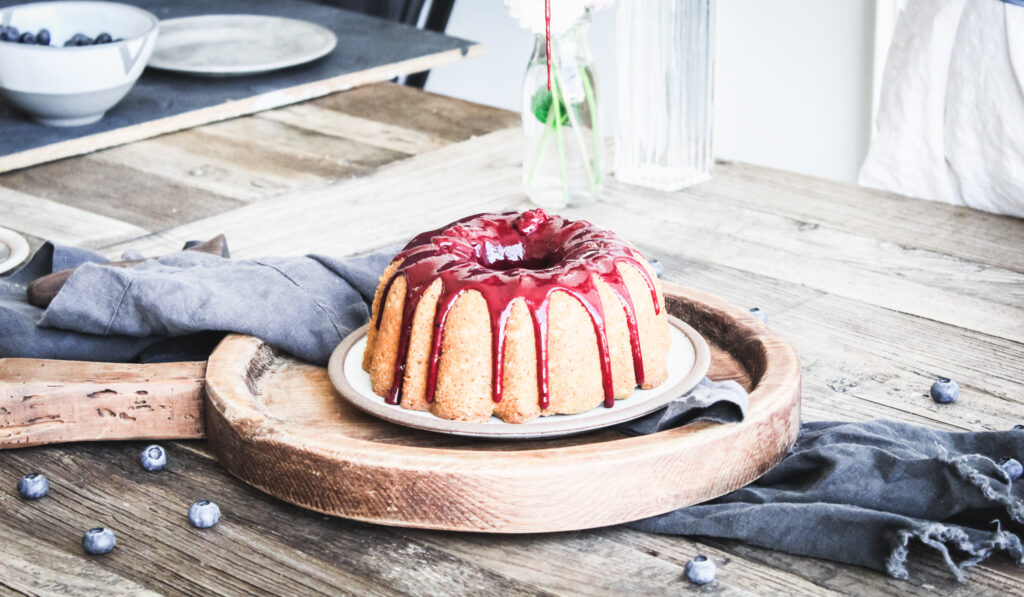
Presets, “what the hec is that” you might be saying!! This is exactly what I was saying not too long ago until I figured out what they were! In Lightroom, both Classic + CC, these are preset edits that make your photos have a similar look + feel. You know how you see those gorgeous Instagram posts + they have that familiar look? Well, I can almost assure they are using the same preset for all of their photos!
You can either purchase a preset from someone (like Jenna Kutcher or Eva) if you like or you can go into lightroom + create your own preset with your own edits to use on every photo. You want to make sure to use your preset first + then do other editing. I have some presents from Eva + it is amazing how pretty they make your photos!
This not only will help your photos but will also up your Instagram game by having a cohesive profile page!
3. Shoot on a cloudy day!!
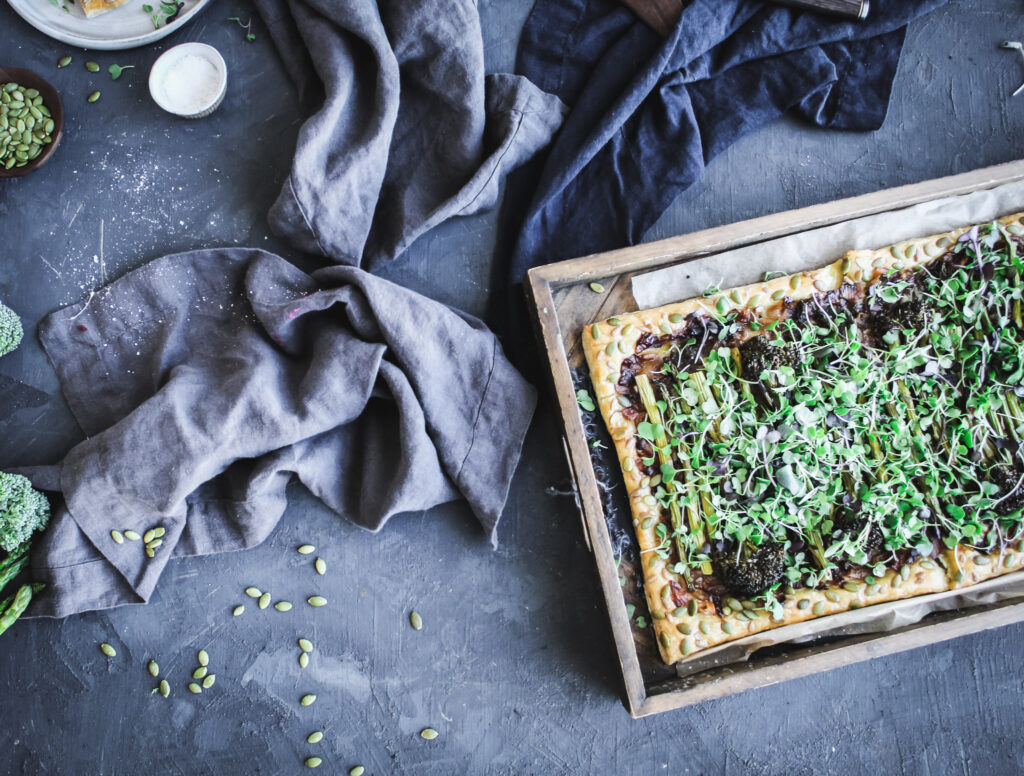
Those bright beautiful days may seem tempting to want to take those beautiful photos but I guarantee you will have better results if the weather is a little overcast. You won’t get those harsh shadows + like I said earlier it’s better to be a little under-exposed and then edit, rather than over-exposed + crossing the can’t-go-back line!
4. Use natural light!
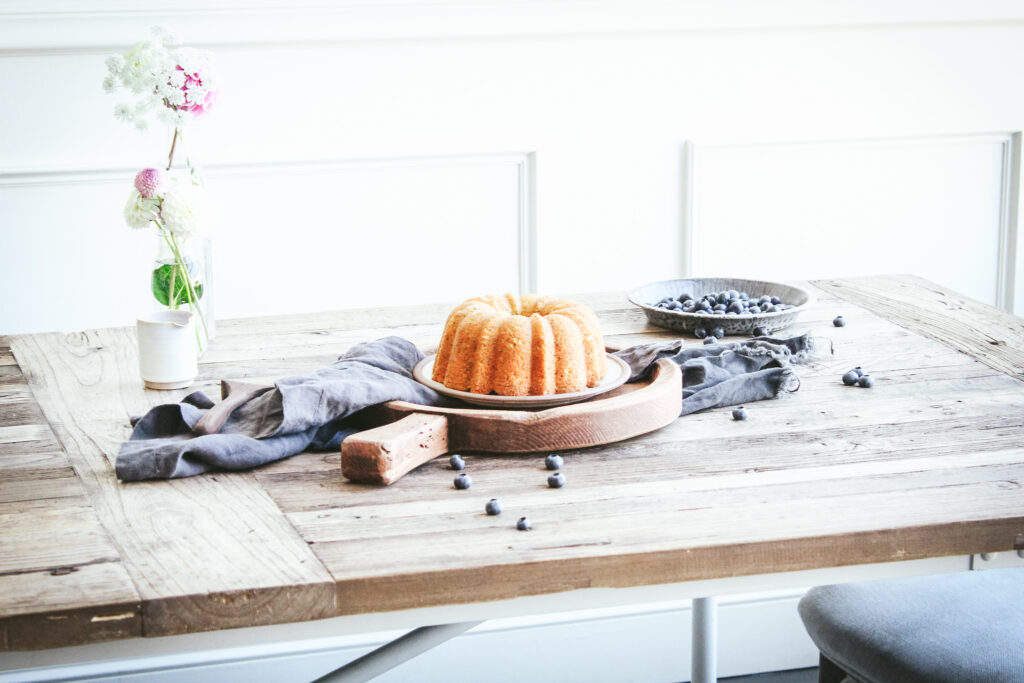
When I say to my husband that I don’t have enough light, he says, “Well then turn on the lights!” I say…no way!! Natural light is the way to go for food photography!!
Here is a little quote from Eva’s online course…Never mix two different color temperatures in the same photograph [i.e. artificial + natural light]. You will end up with blue or orange parts of the image, or both, and it will have a very strange effect on the final photograph. Since we are only going to be shooting with natural light in this course, you will always want to make sure any artificial light you have turned on in your shooting area is turned off so it doesn’t interfere with the color temperature of the natural light. -Eva Kosmas Flores.
5. Tell a story!
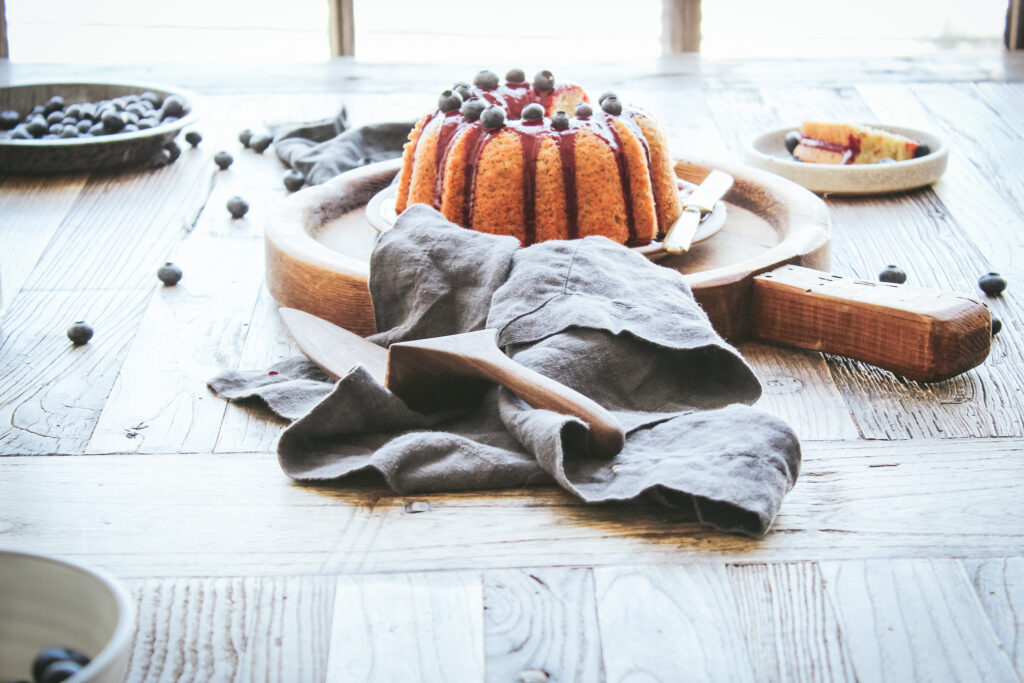
This is something that I learned from Eva. She is great at this! If you look at her photos she makes you feel like you want to be right there enjoying that piece of cake with her! She doesn’t just take a picture of the cake, but of the berries she uses to top it scattered around, along with the serving spoon + tea towel to give the photo more dimension + interest. She scatters ingredients she used in the dish around + places a cup of coffee next to it to tell the story of that dish. Adding a human element, like you holding your fresh-baked goodies, is great as well!
Have fun styling your photos!! This is my favorite part of food photography. You get to be creative + make it your own. You get to tell your story! Don’t be afraid to make it your own + go against the grain. I know I sometimes feel like the od ball because I like so much light but this is what makes me happy so do what makes you happy!
Bonus tip! I was able to ask Eva in our class after struggling with over-exposure since I love so much light… “How do I know that my photo is over-exposed?”. Eva’s answer was pretty simple…you want to be able to see the lines in the photo. If your photo is so light that it is blurred out you’ve gone too far!
I hope you enjoyed these tips!! If you have any other favorite food photography or non-food photography tips I would love to hear about it in the comments!!
Hope you have a blessed day!
I think good dreaming is what leads to good photographs. -Wayne Miller

Interesting article. Keep up the good work!
Thank you Debbie:).
Like!! I blog frequently and I really thank you for your content. The article has truly peaked my interest.
Thank you ever so for you post.Much thanks again.
Today, I went to the beach with my children. I found a sea shell and gave it to my 4 year old daughter and said “You can hear the ocean if you put this to your ear.” She placed the shell to her ear and screamed.
There was a hermit crab inside and it pinched her ear.
She never wants to go back! LoL I know this is entirely off topic but I had to tell someone!
Hello. And Bye.
when Will There Be Generic Cialis?