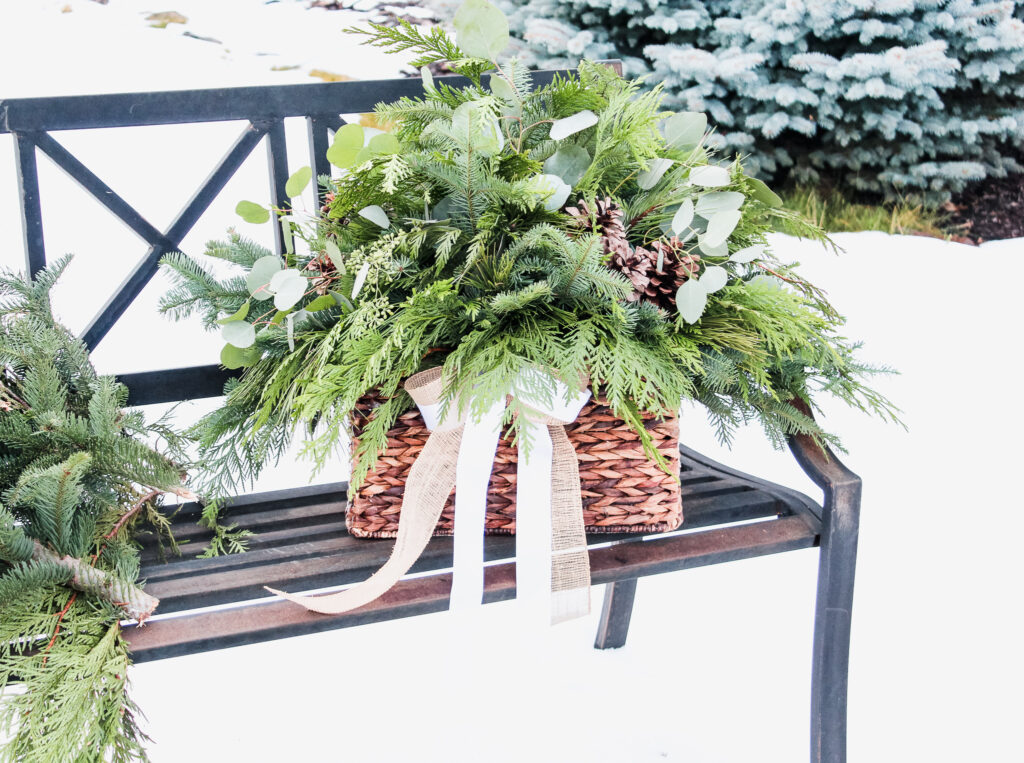
Easy, affordable and the perfect way to bring some Christmas Cheer to your table + home! This DIY Christmas Centerpiece will light up your home all season long! It’s all about using what you have to make this centerpiece extremely budget-friendly!
I asked my mom if she wouldn’t mind coming over to do a Christmas Centerpiece with me! My mom is a florist and always has the pretties centerpieces on her table for the holidays. It was so fun learning from her! The little tips and tricks she gave really made all the difference! I’m excited to share them with you!
Evergreens are the way to go to keep this DIY Christmas Centerpiece budget-friendly! If you have evergreens on your property all the better. If not, don’t be afraid to ask someone you know or, if possible, head on out to the woods! We used Cedar, Pine, and Noble Fir (trimmings from our Christmas tree;)) for our evergreen mix. There are many other greens you can use as well…Fir, Spruce, Arborvitae, Juniper, etc.
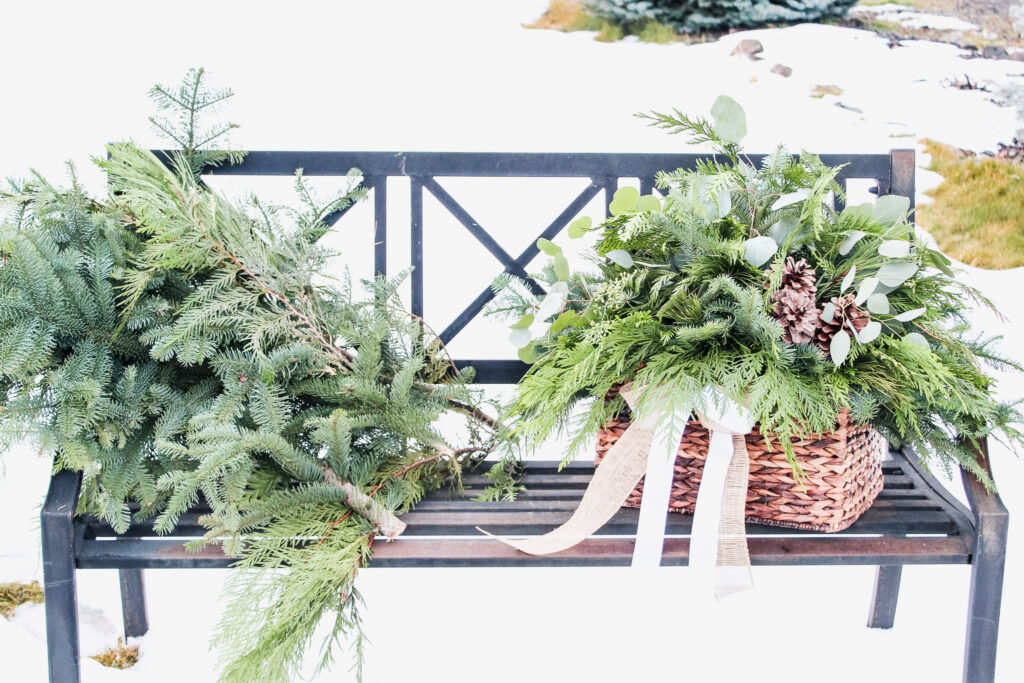
Whatever greens you choose you will want large sturdy branches to be your foundation. We started with Noble Fir and then filled in with the Cedar + Pine. Then you get to have some fun! Juniper Berries, Pine Cones, Christmas Bulbs, Ribbon, Holly, Eucalyptus or whatever your heart desires!
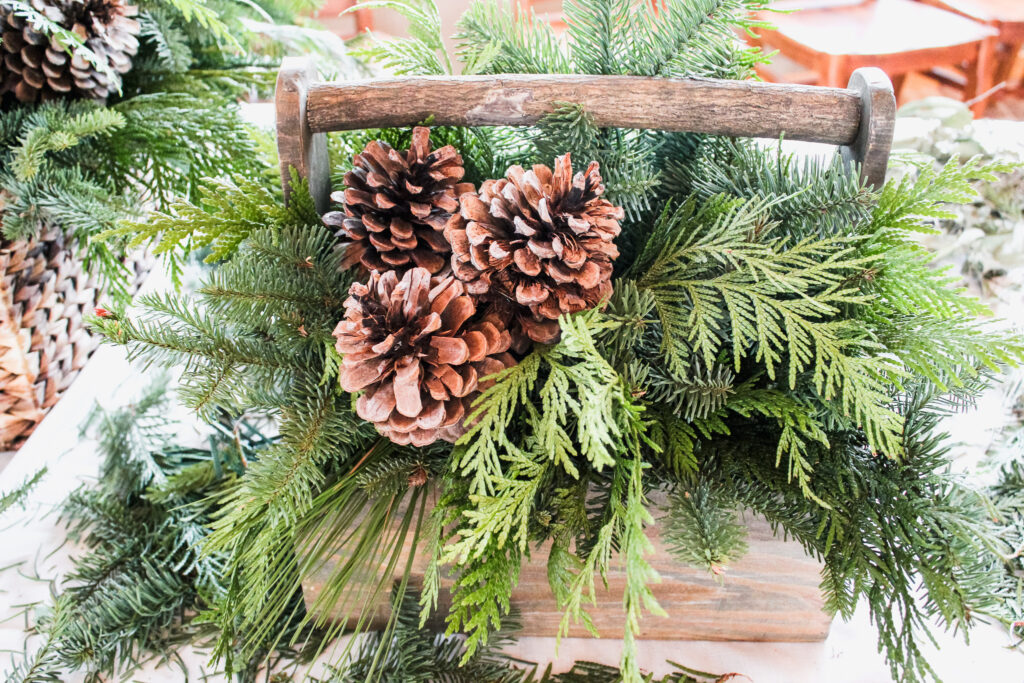
As far as the vessel goes…use what you have! I used a basket we stored DVDs in. You can even get creative and use a cute little box as my mom did! Or even a beautiful platter!
Here are the tools you will need!
Note: these links are NOT affiliated links. Just ideas. I have not personally tested these items from these specific vendors. You can also find these items at craft stores.
- Floral Wet Foam Bricks + Waterproof Floral Tape
- Floral Picks with wire attached (longer is better for larger arrangements so the little guys can stick out. You could also use floral wire and a stick/skewer)
- Pruning Shears
- Saran Wrap + Foil if you are using a basket or other vessel that you don’t want to get wet.
Let’s Get Started!
First, determine how many floral foam bricks you will need. For the basket in the pictures, we used two bricks to get the desired height. You want the foam sticking above the vessel so you can get greens sticking out of the sides. We also used an upside-down 9×13 pan to give us more height. Soak your brick/bricks in the sink filled with water while you prepare everything else.
Next, line your vessel with Saran Wrap + Foil to prevent leaking.
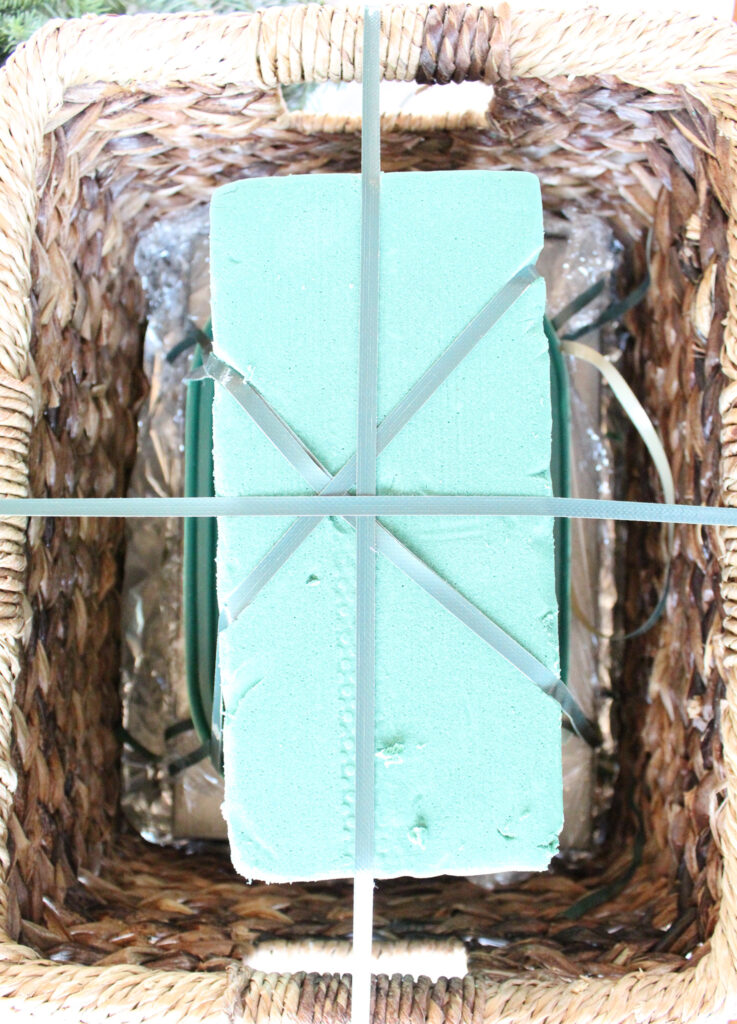
Place lift item, if needed, + floral foam brick on top of Saran Wrap + Foil. Tape items using floral waterproof tape to vessel in a criss-cross to stabilize bricks (don’t worry we will be covering this tape up with greens). You want to make sure to not use too much tape to where you won’t have room to insert your greens.
Now it’s time to add your greens! Pick out your first two stems. Fir or Spruce will work best. Grab two large stems (however tall you want to make your arrangement-don’t be afraid to give it some height). De-stem the bottom of the stem to make it easier to insert into foam. Insert 2 stems back-to-back in the very center to make your arrangement double-sided.
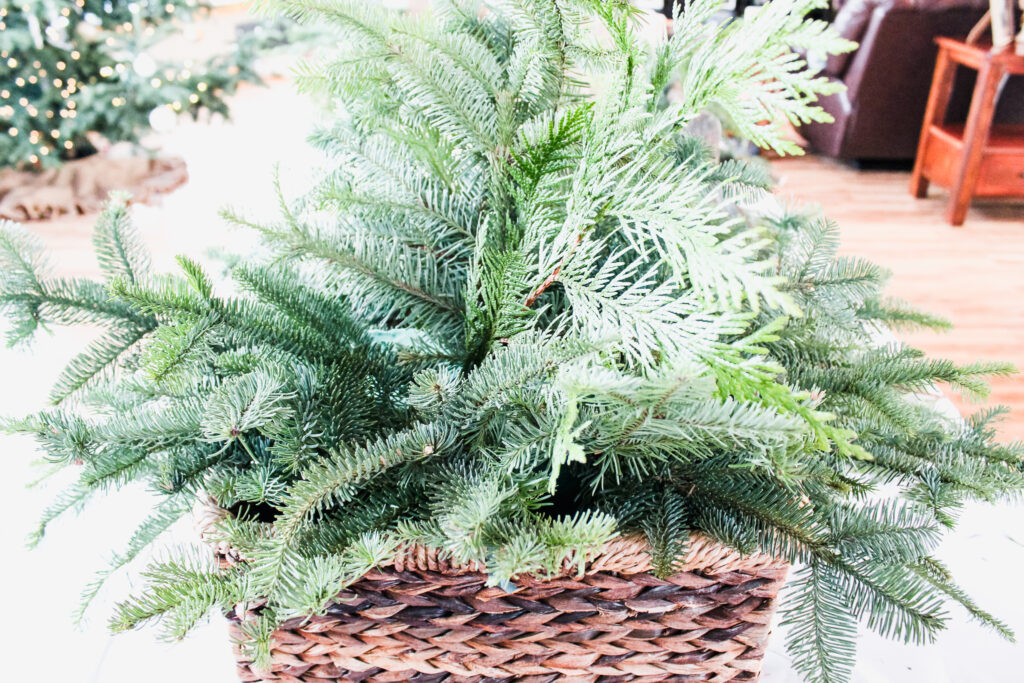
Use the same type of green you started with and start sticking them out the sides of the foam, being sure to de-stem the bottoms before inserting. You want the greens sticking straight out or down from the side of the vessel. We even stuck some out of the sides of the basket handles. Add some more of the same greens to start filling in.
Next, add in another evergreen. We filled in with Cedar and then pine. Your choice! You want your arrangement to be totally filled in with greens with no foam showing. Be sure to walk around the arrangement as you go so all sides look pretty and filled in!
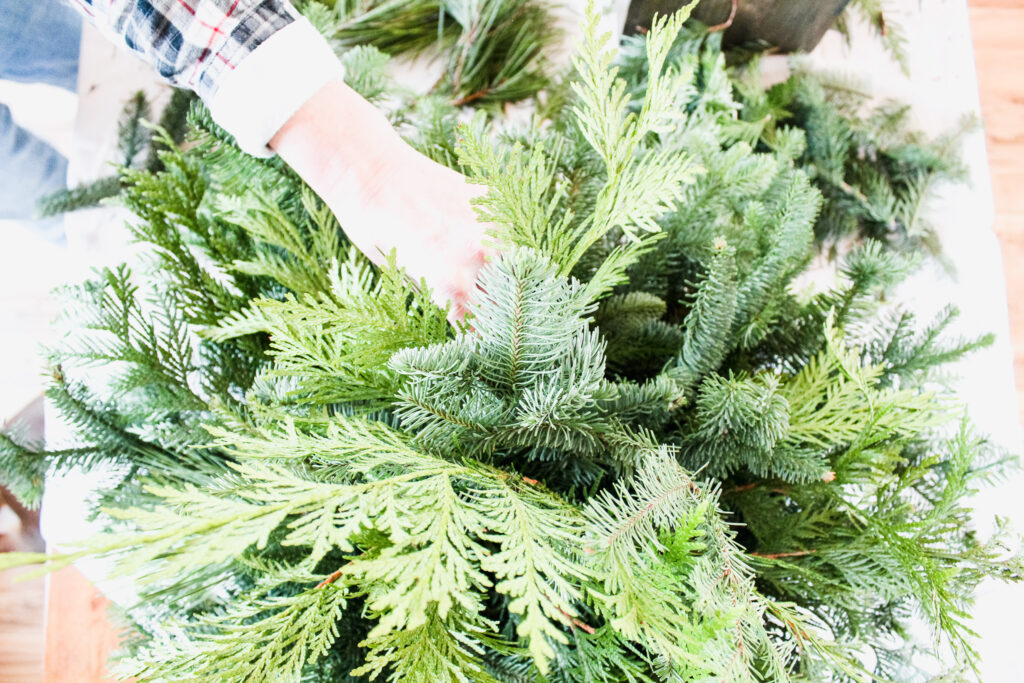
Now you get to add in the extras! If your item is long enough, like the eucalypts here, you do not need the floral pick. If it is a shorter item you will need to attach it with the floral stick and then insert it in foam. See the video below. For pine cones, it looks pretty to bunch them in a group of three.
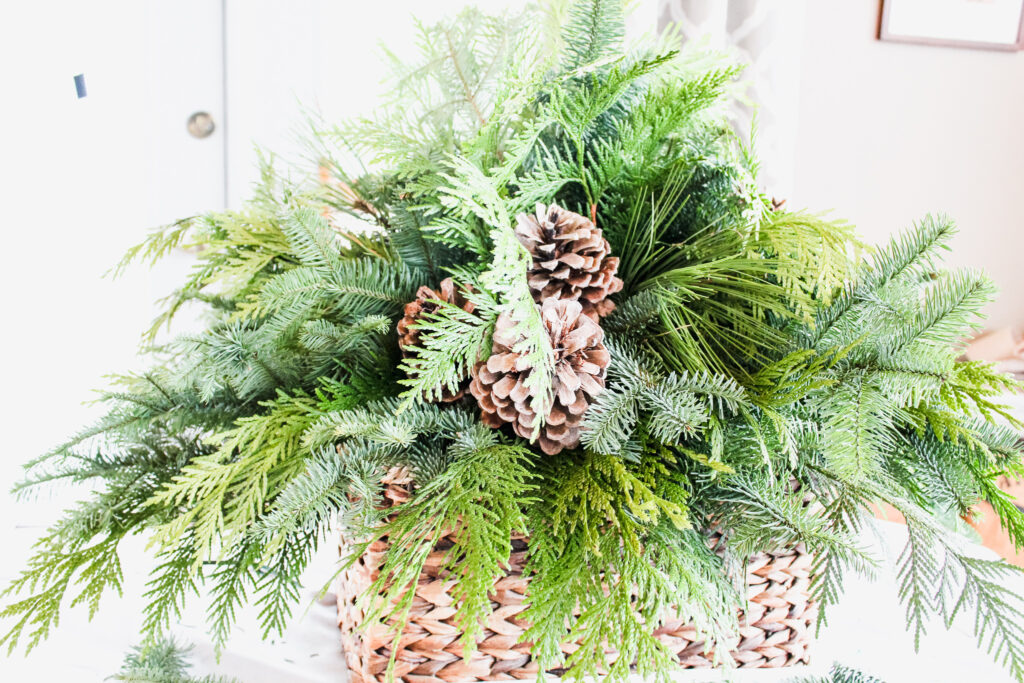
If desired, add a pretty bow! You can purchase one already made or just make your own with some ribbon! Just attach the bow with the floral pick and place it anywhere you desire, on the bottom of even in the arrangement off to the side.
You can even add fresh flowers (like white or red roses) to take it over the top!
In the wet foam, your DIY Christmas Centerpiece should last through the holiday season (if using fresh flowers they will likely need to be changed out or discarded when wilted). Enjoy!!
Each of you should use whatever gift you have received to serve others, as faithful stewards of God’s grace in its various forms. -1 Peter 4:10 (NIV)
A special Thank you to my mom for using her gift to teach us how to add some Christmas Cheer to our homes!
You could definitely see your skills in the work you write. The world hopes for even more passionate writers like you who aren’t afraid to say how they believe. Always follow your heart.
That is so sweet! Thank you so much! That means a lot!
I’m curious to find out what blog platform you’re utilizing?
I’m having some small security problems with my latest blog and
I would like to find something more safe. Do you have any solutions?
Like!! Really appreciate you sharing this blog post.Really thank you! Keep writing.
Im grateful for the article post. Keep writing.
Hey, thanks for the article post.Really looking forward to read more. Keep writing.
you’re really a good webmaster. The web site loading speed is amazing. It seems that you’re doing any unique trick. Moreover, The contents are masterwork. you’ve done a wonderful job on this topic!
Thank you ever so for you blog post. Really Great.
Right here is the perfect web site for anyone who hopes to find out about this topic. You understand a whole lot its almost hard to argue with you (not that I actually would want toÖHaHa). You definitely put a new spin on a topic that has been discussed for decades. Excellent stuff, just great!